How to Ski: The Ultimate Beginner’s Guide
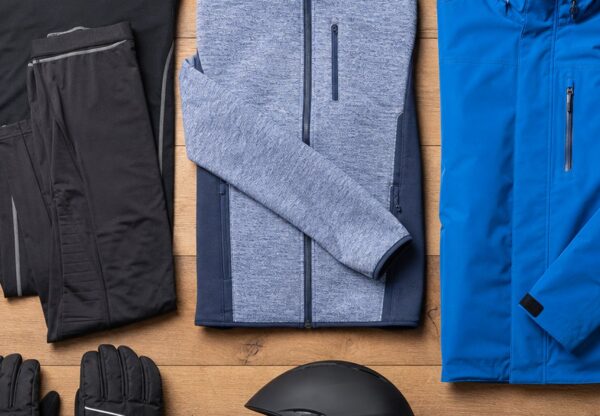
Before You See Snow: Essential Gear Preparation
Learning to ski can seem like a significant challenge, but many of the initial hurdles can be overcome before you even step onto the snow. Familiarising yourself with the equipment is the first step towards a confident and enjoyable day on the mountain.
Putting On Ski Boots Correctly
Ski boots are often the most intimidating piece of equipment for a newcomer. They are designed to be rigid and snug to transfer your movements directly to the skis. Putting them on correctly makes a world of difference to your comfort and control.
- Open the Boot: Unbuckle everything and pull the tongue of the inner liner forward and to the side to create the widest possible opening.
- Slide Your Foot In: While seated, point your toe and slide your foot into the boot. It may require a firm push.
- Seat Your Heel: Once your foot is in, tap your heel firmly on the floor a few times. This pushes your heel into the back of the boot, which is the correct position, and creates more space for your toes.
- Buckle in Sequence: Start with the buckles over the top of your foot, closing them on a loose setting. Next, fasten the power strap around your shin. Finally, tighten the two cuff buckles around your leg. They should be snug, but not painfully tight. Your leg should not be able to move around inside the boot.
- Check the Fit: Stand up and flex your knees forward. Your toes should pull back slightly from the end of the boot. If they are still pressed hard against the front, the boot may be too small. If your heel lifts up easily when you flex, it may be too big.
Walking in Ski Boots
Walking in rigid plastic boots feels unnatural at first. The key is to avoid fighting the boot’s design. Instead of a normal walking motion, plant your heel first and then roll onto your toe. Think ‘heel-toe, heel-toe’. It’s a deliberate, slightly robotic motion. When going up stairs, place your whole foot flat on each step. When descending, continue the heel-toe roll or turn sideways for better stability.
Carrying Your Skis Safely
The standard way to carry skis is over your shoulder. Lock the ski brakes together by pressing the bases of the skis against each other. Rest the skis on one shoulder, with the bindings positioned just behind your shoulder to balance the weight. The tips of the skis should be pointing down in front of you. Hold them in place with the corresponding arm. This method keeps them secure and gives you a free hand.
Navigating the Resort: Passes and Maps
Once you are kitted out, the next step is understanding how to get around the ski area. Your lift pass and the piste map are your essential tools for exploration.
Understanding Your Lift Pass
Modern lift passes are typically credit-card-sized plastic cards containing an RFID chip. This allows for hands-free access through the lift gates. For the scanners to work correctly, keep your pass in a pocket on the left side of your body, ideally in a dedicated sleeve on your jacket arm. Ensure there are no other cards, phones, or metallic objects like foil-wrapped snacks in the same pocket, as these can interfere with the signal. As a beginner, you may not need a pass for the entire ski area; many resorts offer cheaper passes that cover just the nursery slopes.
How to Read a Piste Map
A piste map is a topographical guide to the ski resort. While they can look complex, the system is standardised across most of the world. Pistes (the French term for a groomed ski run) are colour-coded by difficulty:
- Green: The easiest slopes. Gentle, wide, and perfect for absolute beginners.
- Blue: Easy to intermediate. Still gentle, but may be slightly steeper or narrower than green runs.
- Red: Advanced intermediate. These are significantly steeper and require confident turning skills.
- Black: Expert. The most challenging runs on the mountain, often very steep, and may be left ungroomed.
Note that some countries, like Austria, do not use the green classification; blue runs are the easiest option there. The map also shows the locations of lifts, restaurants, toilets, and first-aid stations.
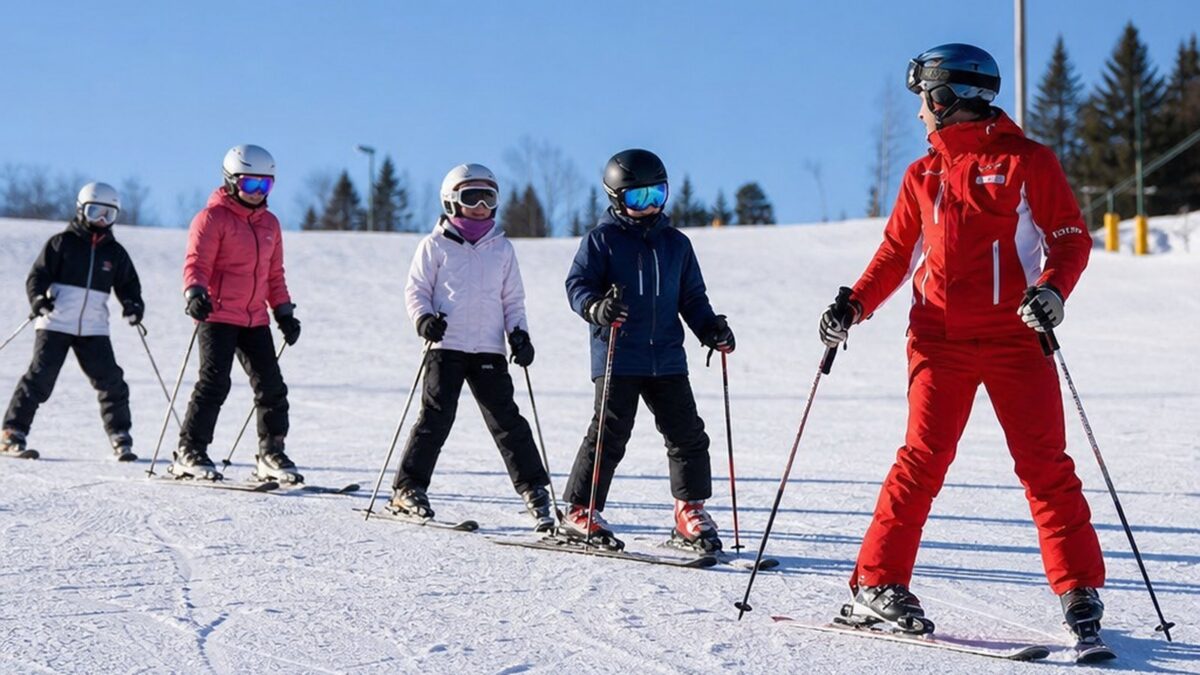
First Steps on the Snow
With your gear on and your route planned, it’s time to get on the snow. These are the foundational movements for all skiing.
Clipping Into Your Skis
Find a flat area. Place your skis on the snow parallel to each other. First, clean any snow from the bottom of your boot sole. Step forward and place the toe of your boot into the front piece of the binding. Then, press down firmly with your heel. You should hear and feel a solid ‘click’ as the rear binding engages. Tug your boot upwards to ensure it’s securely locked in.
The Snowplough: Your First Turn and Stop
The snowplough, also known as the ‘pizza slice’, is the most important technique for any beginner. It is the basis for both speed control and turning. To form a snowplough, push your heels out while keeping the tips of your skis close together, creating a ‘V’ shape. The wider you make the ‘V’, the more friction you create and the slower you will go. To stop completely, push your heels out even further and apply pressure to the inside edges of your skis. To make a gentle turn, simply apply a little more weight to the ski on the opposite side of the direction you want to go. For example, to turn left, press down more on your right ski.
Using the Lifts: Getting Up the Mountain
Ski lifts transport you up the mountain so you can ski down. The two most common types for beginners are magic carpets and chairlifts.
Magic Carpets
A magic carpet is a conveyor belt on the snow, common in nursery areas. To use one, simply shuffle forward onto the moving belt in your skis and stand still as it carries you up the gentle slope. At the top, glide straight off.
Riding a Chairlift
Chairlifts can be more intimidating but are simple with practice. Shuffle forward to the ‘wait here’ line and watch the chair in front of you go past. When the gates open, move forward to the ‘load here’ line. Look over your shoulder for the approaching chair, and simply sit down as it arrives. Once seated, pull the safety bar down. To get off, lift the safety bar as you approach the top station, keep your ski tips up, and as your skis touch the snow, stand up and glide away from the chair down the ramp.
FAQ
What do the different colours on a piste map mean?
Piste maps use a colour-coded system to indicate the difficulty of a ski run. Green is for the easiest beginner slopes, blue is for intermediate, red is for advanced, and black is for expert-level terrain. Some regions, like Austria, start with blue as their easiest rating.
How do I stop on skis as a beginner?
The fundamental way to stop is by using the snowplough. Form a 'V' shape with your skis by keeping the tips close together and pushing your heels apart. The wider you make this shape, the slower you will go. To come to a complete stop, widen the 'V' and apply firm pressure to the inside edges of both skis.
Do ski boots have to be so tight?
Yes, ski boots need to have a snug and firm fit. This is essential for controlling your skis, as any movement of your foot inside the boot will reduce your ability to steer. However, they should not be painful. If you experience sharp pain or cramping, the boots may be buckled too tightly or could be the wrong size or shape for your foot.
Where is the best place to keep my lift pass?
Most modern ski jackets have a dedicated pocket on the left sleeve for a lift pass. If yours doesn't, any pocket on the left side of your body is best, as the scanners at the lift gates are typically on that side. Keep it separate from your mobile phone or any foil wrappers to ensure it scans correctly.
Is it difficult to learn to ski?
Like any new sport, skiing has a learning curve, but most people can grasp the basics of stopping and turning on a gentle slope within a few hours. Progress is often quick for beginners, and focusing on foundational skills like the snowplough builds a strong base for future improvement.